The Land Restoration Program (LRP) of the Maryland Department of the Environment provides financial incentives for the redevelopment of brownfields, which are sites that either qualify for the Voluntary Cleanup Program or are contaminated by oil. Redevelopment of these sites will help revitalize industrial and commercial areas. LRP also administers the "Superfund" program for the State of Maryland that assesses suspected hazardous waste sites, including federal facilities, to control and remove environmental and public health threats through site cleanups and remedial actions. As a public service, LRP distributes their GIS data identifying these site locations in several different file formats. They include OGC Compliant Web Map Services, OGC Compliant Web Feature Services, ArcGIS Web Map Services, and Keyhole Markup Language (KML) format.
ArcGIS Map Server
KML Service
Web Map Service
Web Feature Service
Review the various sections of this document for directions regarding how to consume these services using ArcGIS 9.3.1 and Google Earth. Click here to access the section that discusses metadata (details about LRP-Map data).
[TOP]
Data is updated on a monthly basis and is accessible to the public at no charge. There are two main GIS layers comprising LRP-Map. They include LRP Sites and Determinations.
Click here to access Metadata on LRP Sites.
Click here to review a list of LRP Site Descriptions.
Click here to access Metadata on Determinations.
[TOP]
1. From Windows, launch ArcMap by clicking on Start/All Programs/ArcGIS/ArcMap.
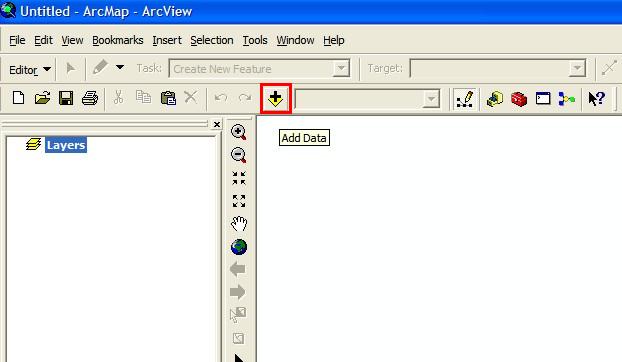
2. Locate and click on the Add Data icon, shown below, circled in red.
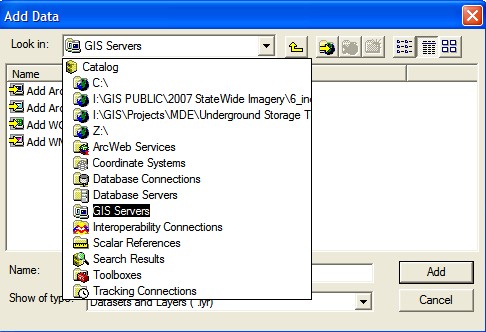
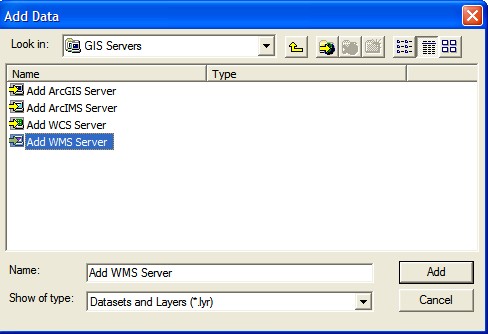
3. From the Add Data dialog box, click on the Look in: drop down box and select GIS Servers, shown highlighted below.
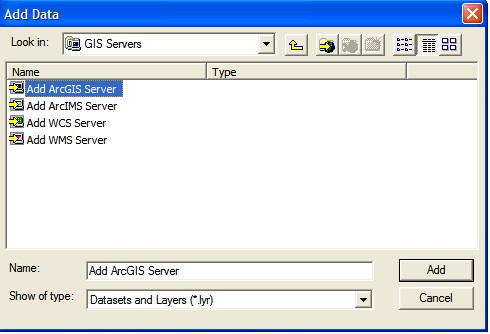
4. If the desired service is already listed, double click the service name and navigate to that service. If it is not there, double click on Add ArcGIS Server.
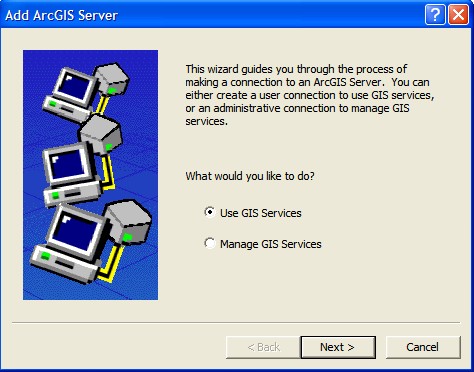
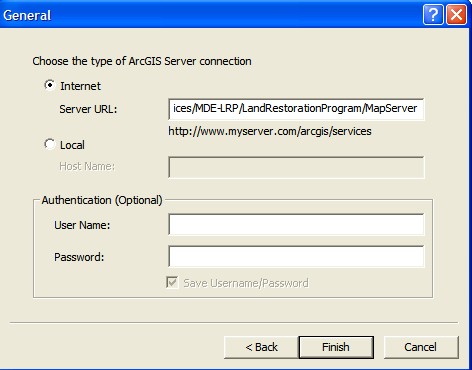
5. A new dialog box will appear. Click on the Use GIS Services radio button and then click Next.
6. Click on or verify that the Internet radio button is clicked, and then enter the Server URL for the service of interest in the format of the following example: https://mdewin64.mde.state.md.us/arcgis/rest/services/MDE_LRP/LandRestorationProgram/MapServer. Accept all other defaults, then click Finish.
7. The service should now be available to choose from the Add Data dialog box (see Step 4).
[TOP]
1. From Windows, launch ArcMap by clicking on Start/All Programs/ArcGIS/ArcMap.
2. Locate and click on the Add Data icon, shown below, circled in red.
3. From the Add Data dialog box, click on the Look in: drop down box and select GIS Servers, shown highlighted below.
4. If the desired service is already listed, double click the service name and navigate to that service. If it is not there, double click on Add WMS Server.
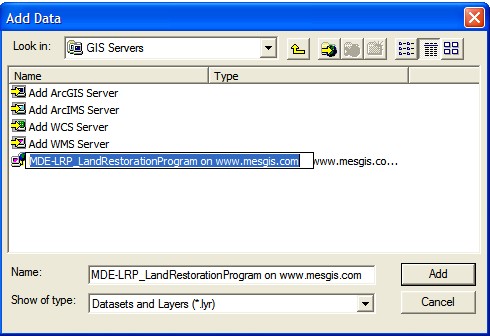
5. Enter the following URL: https://mdewin64.mde.state.md.us/arcgis/services/MDE_LRP/LandRestorationProgram/MapServer/WMSServer and then click on Get Layers, circled in red below.
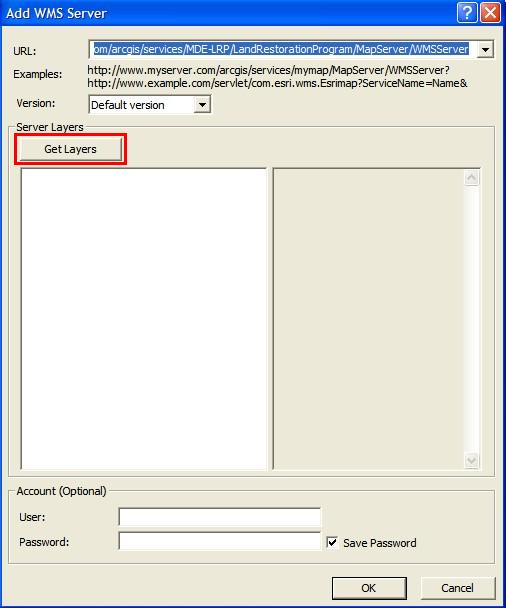
6. A list of available layers will be generated. Verify that the layers are present and correct, and then click OK.
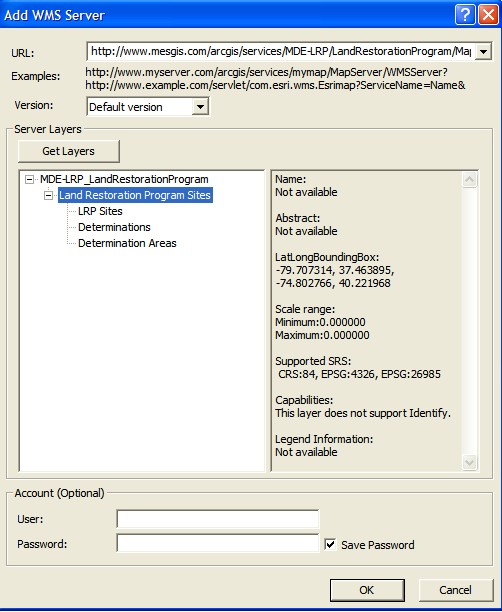
7. Returning to the original GIS Servers menu, now choose the newly added WMS Service, shown highlighted below.
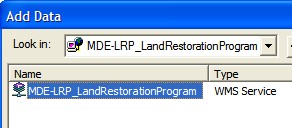
8. Double click to choose the Service:
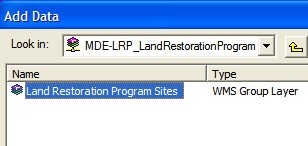
9. Double click to choose the Group:
10. Double click once more to select the layers and then click on Add.
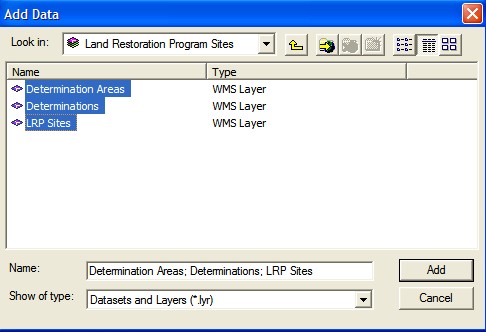
11. The layers will be added to and available in the Table of Contents portion of the ArcMap screen and should display automatically.
[TOP]
The Web Feature Service (WFS) is available once the interoperability connection has been established in ArcCatalog.
Click here for step-by-step instructions on how to add this extension to ArcCatalog.
Click here to find how to use the interoperability extension to add an OGC Compliant WFS to ArcCatalog.
Click here to see the steps to add a WFS to ArcMap.
[TOP]
Installing the Interoperability Connections Extension
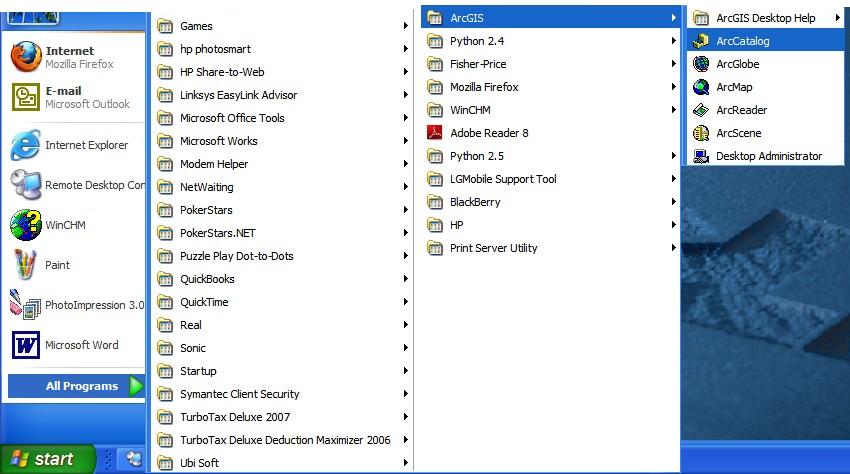
1. Determine if the Interoperability Connections extensions is installed on the system by opening ArcCatalog. Click on Start/All Programs/ArcGIS/ArcCatalog.
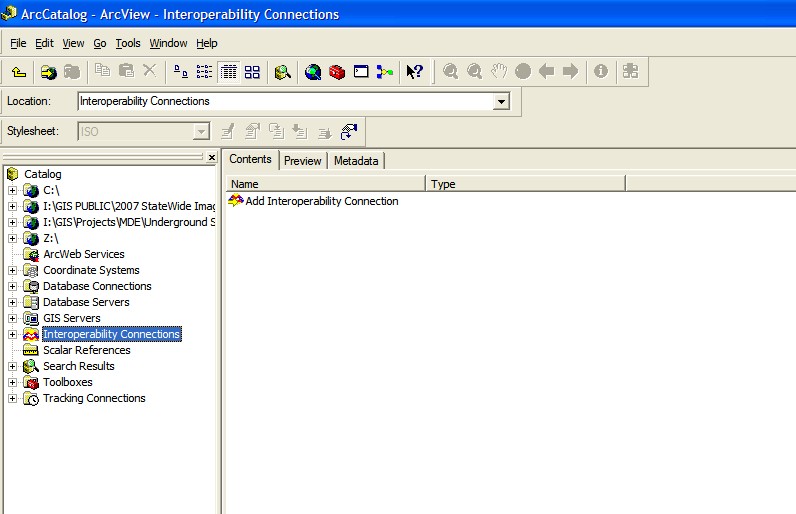
2. Within ArcCatalog, scroll down the left portion of the screen and locate the ArcWeb Services tab. Below this tab, try to locate the Interoperability Connections tab. If it is not there, it must be installed. If it is there, no further installation is necessary. Below, notice the extension highlighted. If it is not there, continue with Step 3.
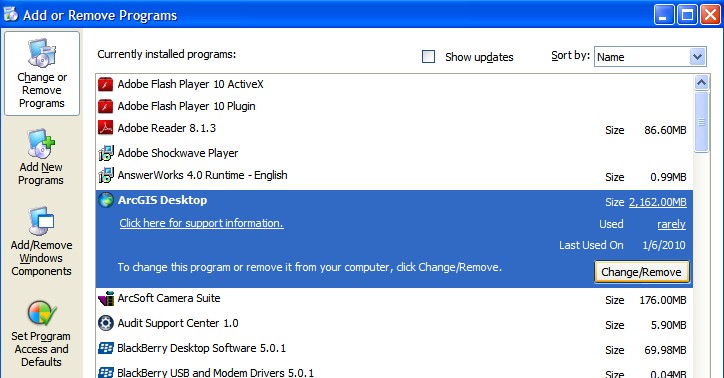
3. To begin the installation, return to the Windows start menu and click on Start/Settings/Control Panel/Add or Remove Programs.
4. After the list of installed programs is automatically generated, locate and click on ArcGIS desktop. Then click on Change/Remove in the highlighted section.
5. When the ArcGIS setup dialog box appears, click on or verify that the Modify radio button is selected (shown selected below). Then click Next.
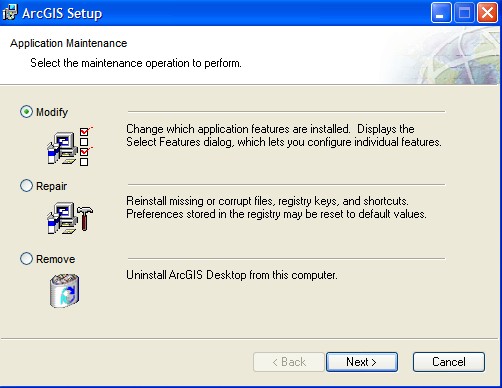
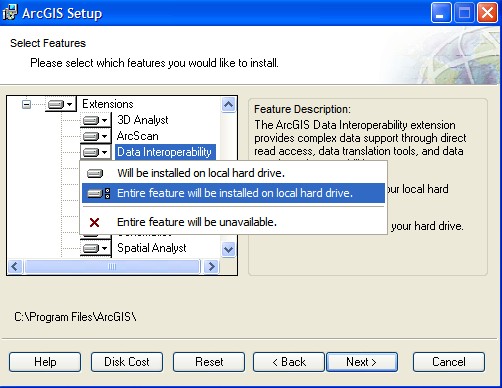
6. On the next screen, click to select and expand Extensions. Scroll down and click on Data Interoperability, then click the drop-down arrow for that extension and select Entire feature will be installed on local hard drive. Then click Next.
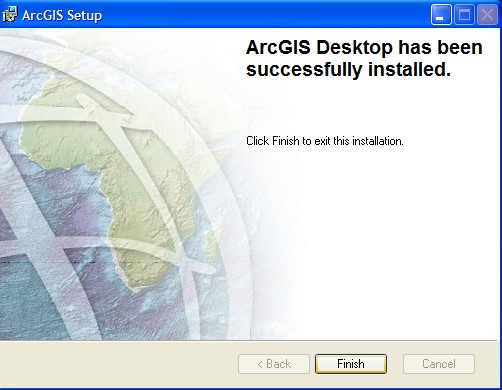
7. Click Next again to begin the Installation and when it is complete, click Finish.
8. Return to ArcCatalog and verify that the extension is now available.
[TOP]
1. Launch ArcCatalog by clicking on Start/All Programs/ArcGIS/ArcCatalog.
2. Within ArcCatalog, scroll down the left portion of the screen and locate the ArcWeb Services tab. Below this tab, locate the Interoperability Connections tab. If it is not there, see previous section on installing the extension. If the tab is there, double click it and notice it expands to show Add Interoperability Connection.
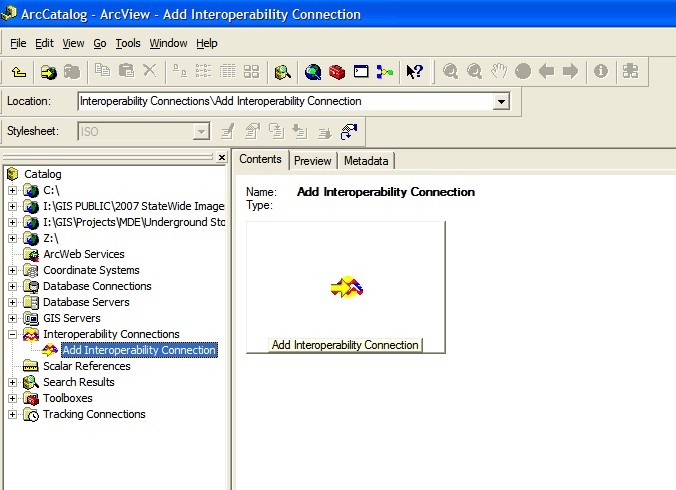
3. Double click the expanded Add Interoperability Connection item in the left portion of the screen or catalog tree to bring up a new menu box.
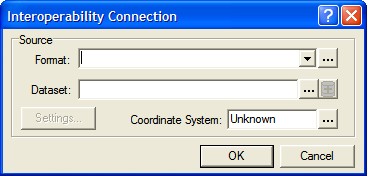
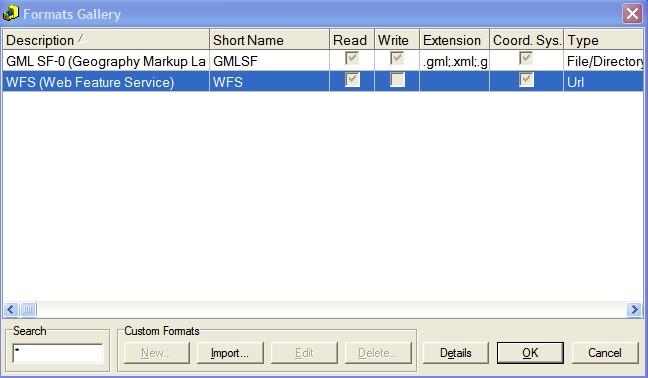
4. For Format, click either the drop-down arrow and select, or click the ellipsis (...) in the box and select WFS (Web Feature Service) and click OK.
5. For Dataset, copy and paste this link into the field: http://www.mesgisservices.com/arcgis/services/MDE-LRP/LandRestorationProgram/MapServer/WFSServer.

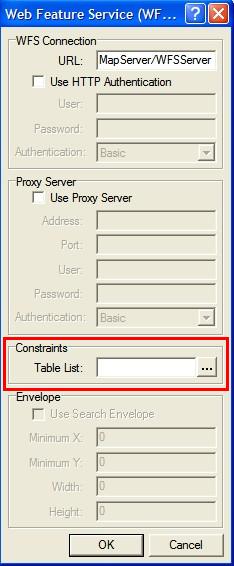
6. Click on Settings..., then click on the ellipsis that follows the Table List box under the Constraints heading (shown in red below).
7. After the connection to the server has been made, check the boxes to select the layers to be consumed, then click OK.

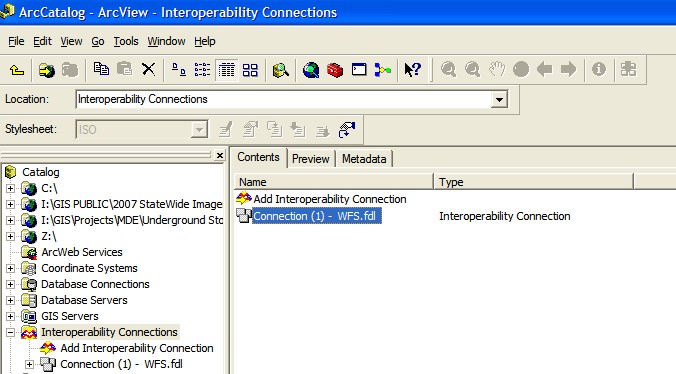
8. Click OK again to close the Web Feature Service dialog box, and then click OK once more on the Interoperability Connection dialog box to connect to the layers. A new connection tab will now be available in the main portion of the ArcCatalog screen, highlighted below.
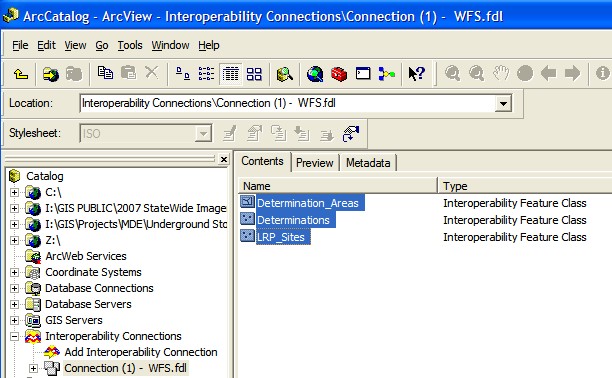
9. Double click the highlighted Connection tab to see the layers that are now available.
[TOP]
1. Verify that the Web Feature Service has been connected by following the steps in the previous section.
2. From Windows, launch ArcMap by clicking on Start/All Programs/ArcGIS/ArcMap.
3. Locate and click on the Add Data icon, shown below, circled in red.
4. From the Add Data dialog box, click on the Look in: drop down box and select Interoperability Connections, shown highlighted below.
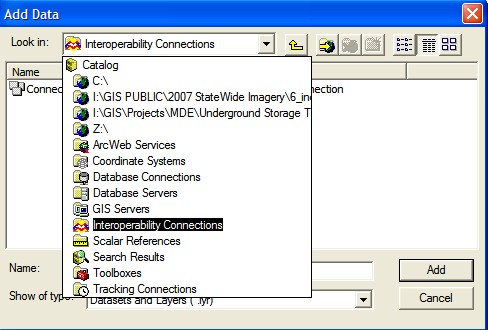
5. Locate and click on the Connection that was loaded in the previous section of this document, shown highlighted below.

6. Choose the layers to be consumed, and click on Add.

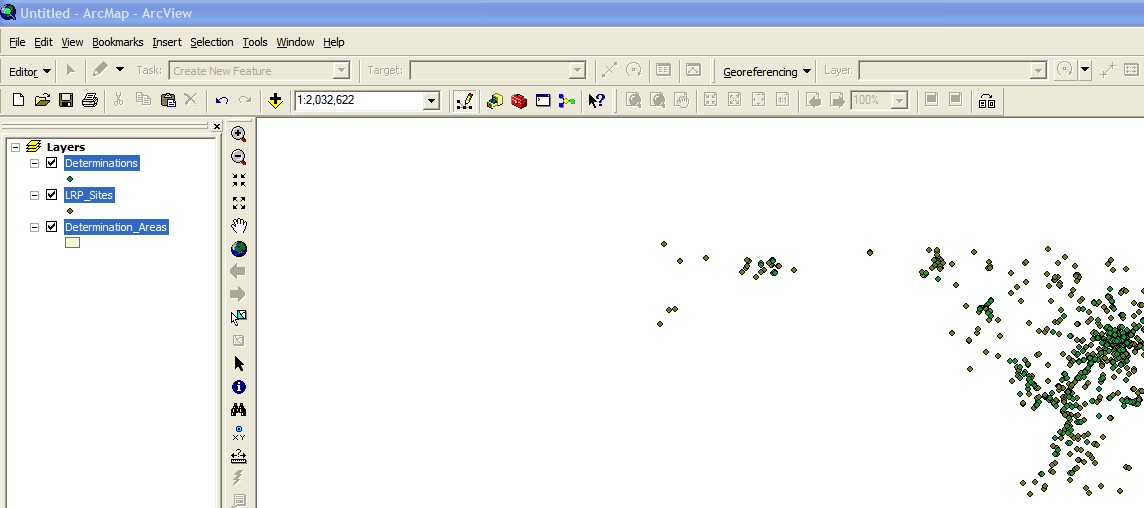
7. Layers may take a few moments to load. Once they are loaded, they are now available in the Table of Contents portion of the ArcMap screen and should be displayed automatically.
[TOP]
1. If Google Earth is installed, skip to step 6.
2. To install the free Google Earth, use a web browser and navigate to http://earth.google.com/.
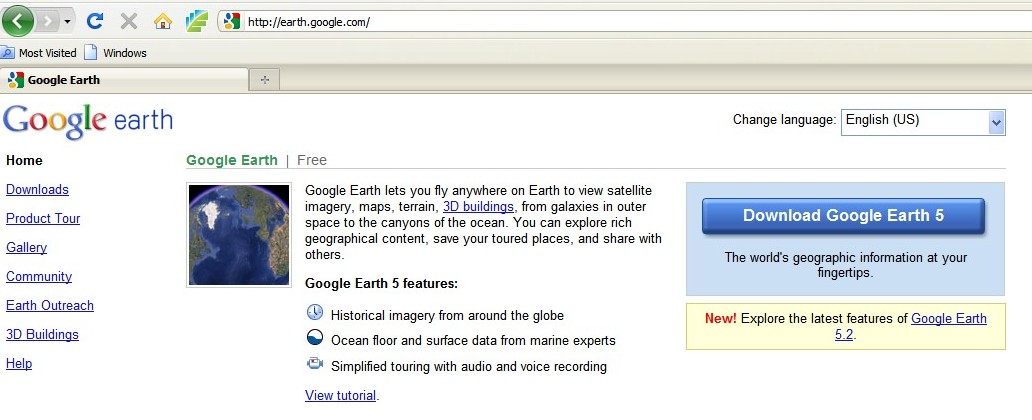
3. Locate the button (large blue button above) to download the software and click it. A new window will appear.
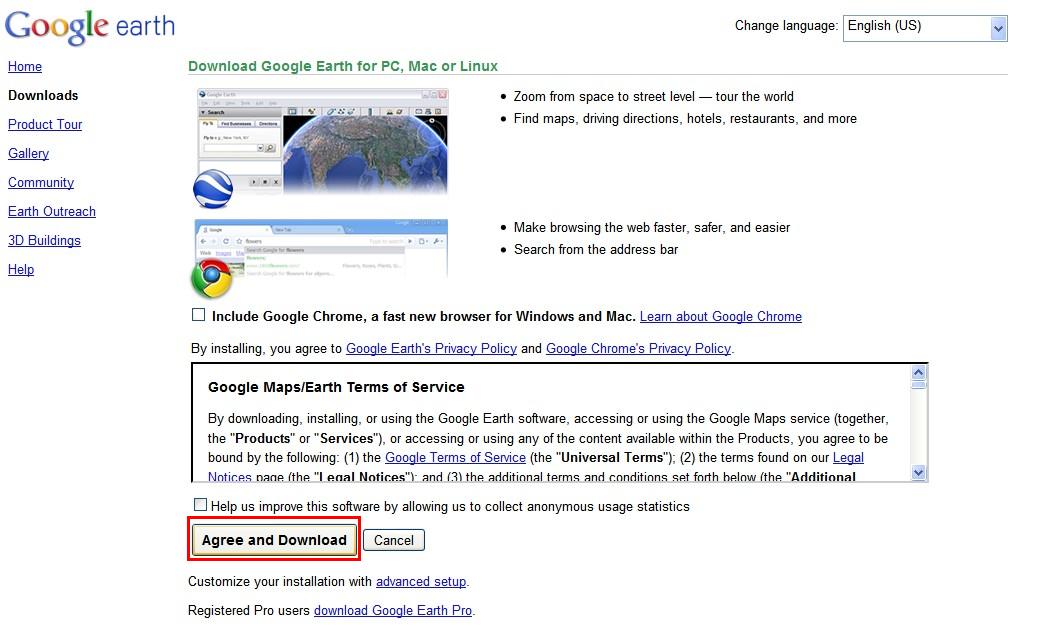
4. Read the terms of service agreement, then locate and click on the Agree and Download button (circled in red above). Another box will appear.
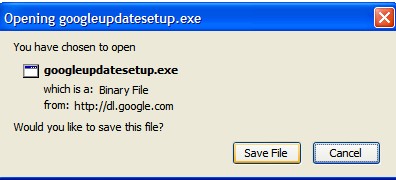
5. Click on Save File to start the installation process. Once the file is saved locally, locate it in the directory structure or in the downloads directory, and double-click it to begin the installation. It may take several minutes for complete installation. Once installed, Google Earth may automatically start. Icons for future uses may be placed on the desktop for quicker access.
6. Now that Google Earth is installed, the next step is to make sure that it will be the default viewer for all *.KML. From the Windows Start menu, click on Settings/Control Panel/Folder Options. A new box will appear. Find the File Types tab and click it. A list of registered file types will take a moment to generate. Once generated, scroll down to KML File type.
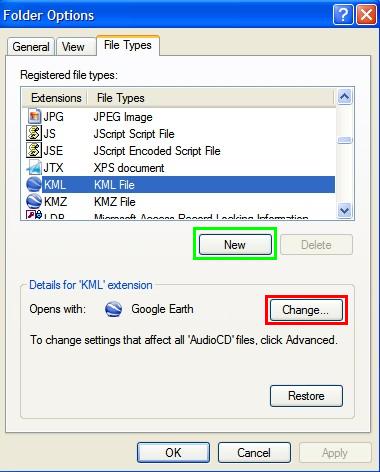
7. The KML file type will need to be associated with Google Earth. In the box above, it already is associated correctly. However, if it the file type isn't present or associated incorrectly, it will need to be added.
8. To add a new file type, click on the New button, circled in green above. Add the extension KML in the box provided. Then click on OK. Find the newly added KML extension in the list, and click to highlight.
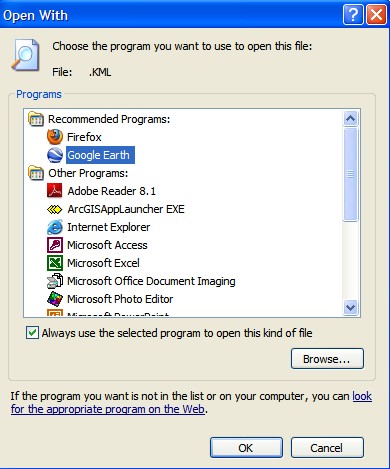
9. To associate the file type extension to Google Earth, click on the Change button, circled in red above. Use the Open With box that appears to find and select Google Earth. If Google Earth does not appear readily, scroll through the lists, or use the Browse... button to locate it manually. Once found, click on it to highlight it, and then click OK. Then click Close on the Folder Options window.
[TOP]
Click here to download the LRP KML files. Please note: the donwload file contains 'LRP Sites' and 'Determination Areas'.
Last Data Update: 7/2013
[TOP]
Click here to download the LRP shapefiles. Please note: the donwload file contains 'LRP Sites' and 'Determination Areas'.
Last Data Update: 7/2013
[TOP]